
Creating a supercell model using VESTA
Preparing an atomistic model is the first and perhaps the most important step in using first-principles simulation for materials research. In some complex cases, it is also the most excruciating and difficult step. Here, I examine how I can use VESTA (tested with version 3.4.0) to create a supercell model for simulating an oxygen vacancy in tetragonal ZrO2.
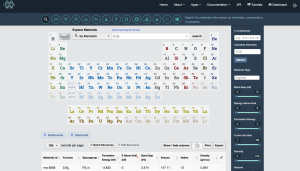
There are now many databases available that provide structure information in standard file formats, so that should be a good starting point. Here I decided to use the Materials Project. Go to https://materialsproject.org/, log in (you need to register to use this site; registration is free of charge), and use the Materials Explorer interface to search for structures containing O and Zr. The space group of tetragonal ZrO2 is P42/nmc, so I chose that.
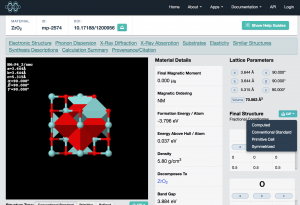
To obtain the structure file, click on “CIF” on the right-hand side. There are several choices for orientation of the crystallographic axes; here I choose conventional standard.
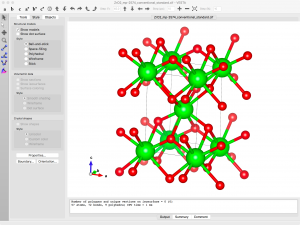
Now let’s open the CIF file in VESTA. You can drag the file from Explorer or Finder or whatever onto the VESTA window, or you can go File → Open. Once the structure is loaded, it’s fun to click and drag the model around to get a feel for the structure.
Since I want to simulate an oxygen vacancy, I need to delete an oxygen atom from the model. The coordinates can be found by going to the menu Edit -> Edit Data -> Structure Parameters. There are only two symmetry inequivalent sites listed.
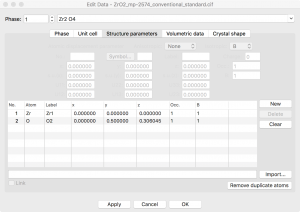
I will be inserting a vacancy so I need to remove the symmetry. This can be achieved by going to the “Unit cell” tab and clicking the “Remove symmetry” button. Now I see 6 distinct atoms when I go back to the “Structure parameters” tab.
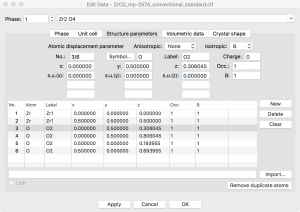
At this point, I can select one of the O atoms in this list, click “Delete”, and create an oxygen vacancy. This results in a rather high concentration of vacancies, i.e., one vacancy in every conventional unit cell.
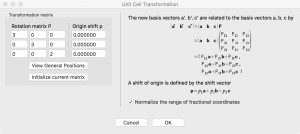
To simulate a more dilute system, I need to prepare a bigger unit cell, i.e, a supercell, before creating a vacancy. This can be done by going to the “Unit cell” tab, clicking “Transform”, and modifying the Rotation matrix. In this case, I take the new supercell size to be (3a, 3b, 2c).
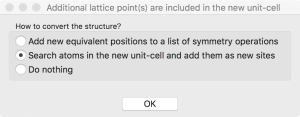
When I click “OK”, VESTA asks how to convert the structure. I choose “Search atoms in the new unit-cell…”.
The supercell structure is finalized when I click “Apply” in the Edit Data window:
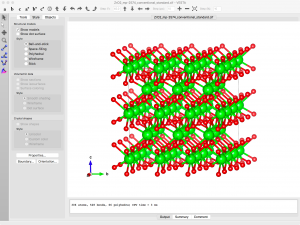
Now I can go back to the structure parameters window (Edit → Edit Data → Structure parameters), select one O atom, Delete, and Apply.
The structural data can be exported to VASP POSCAR format by File → Export Data and choosing VASP as the file format.
https://ma.issp.u-tokyo.ac.jp/en/app-post/1666


No comments